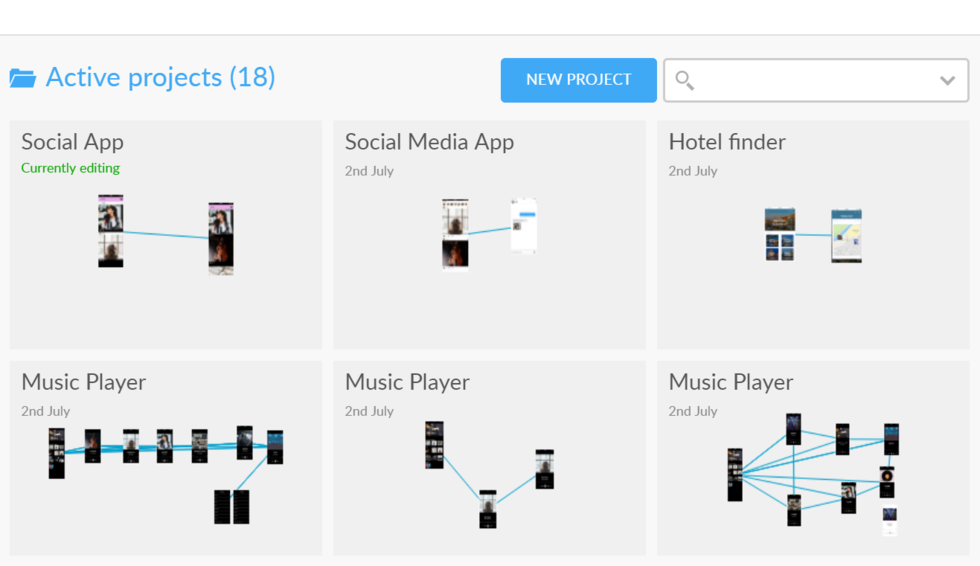
Your first project will be created automatically when you sign up.
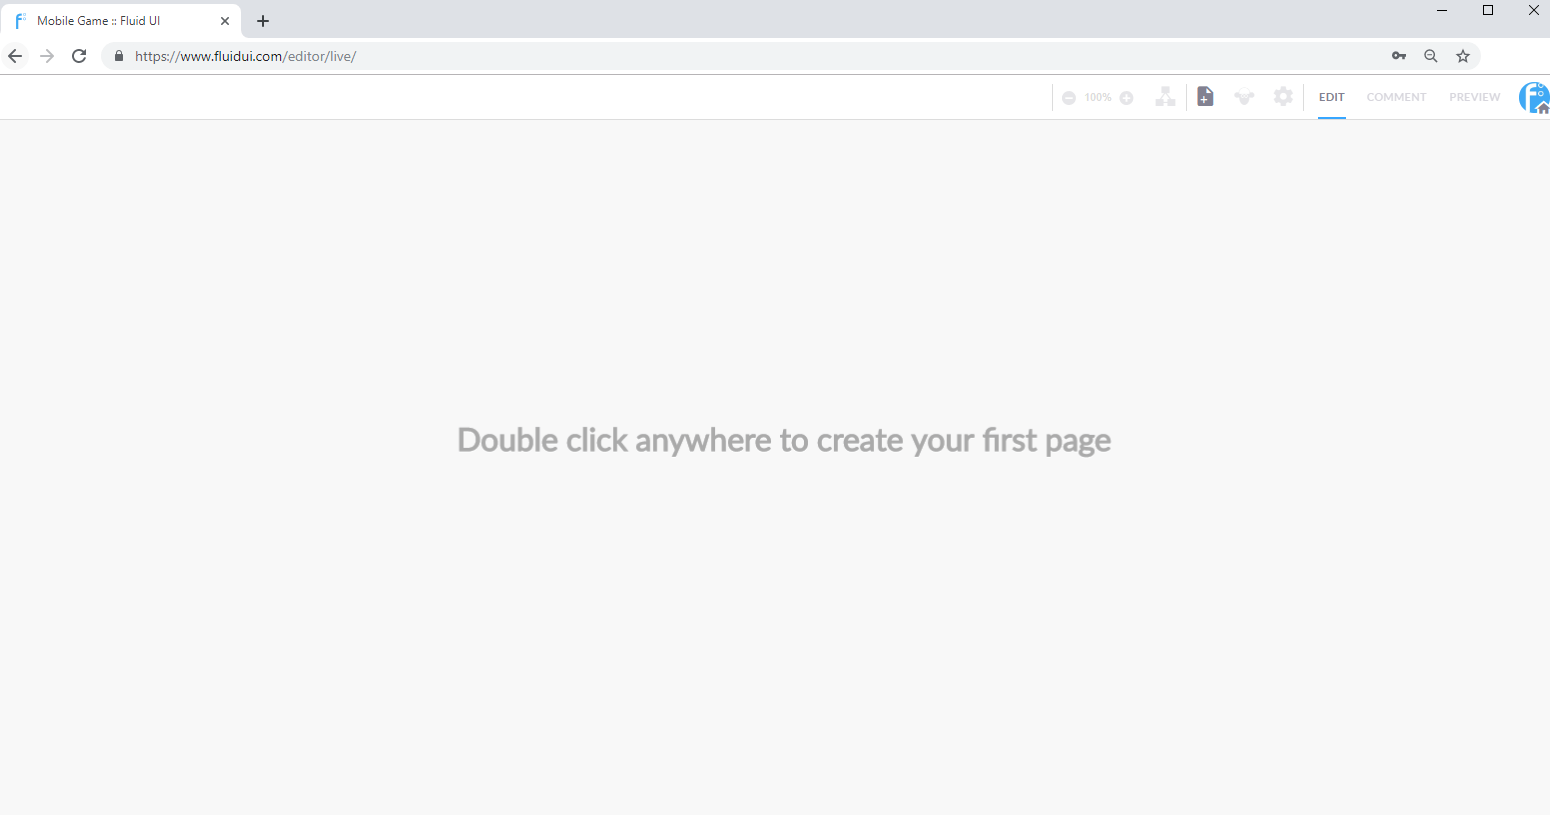
Each project starts with a blank canvas from which your idea can grow. You can start designing the second you are signed in.
You can create additional projects by clicking “New project” in the home menu.

To create a page:
See more aboutadding, cloning and deleting pages and changing their settings in the page menu.
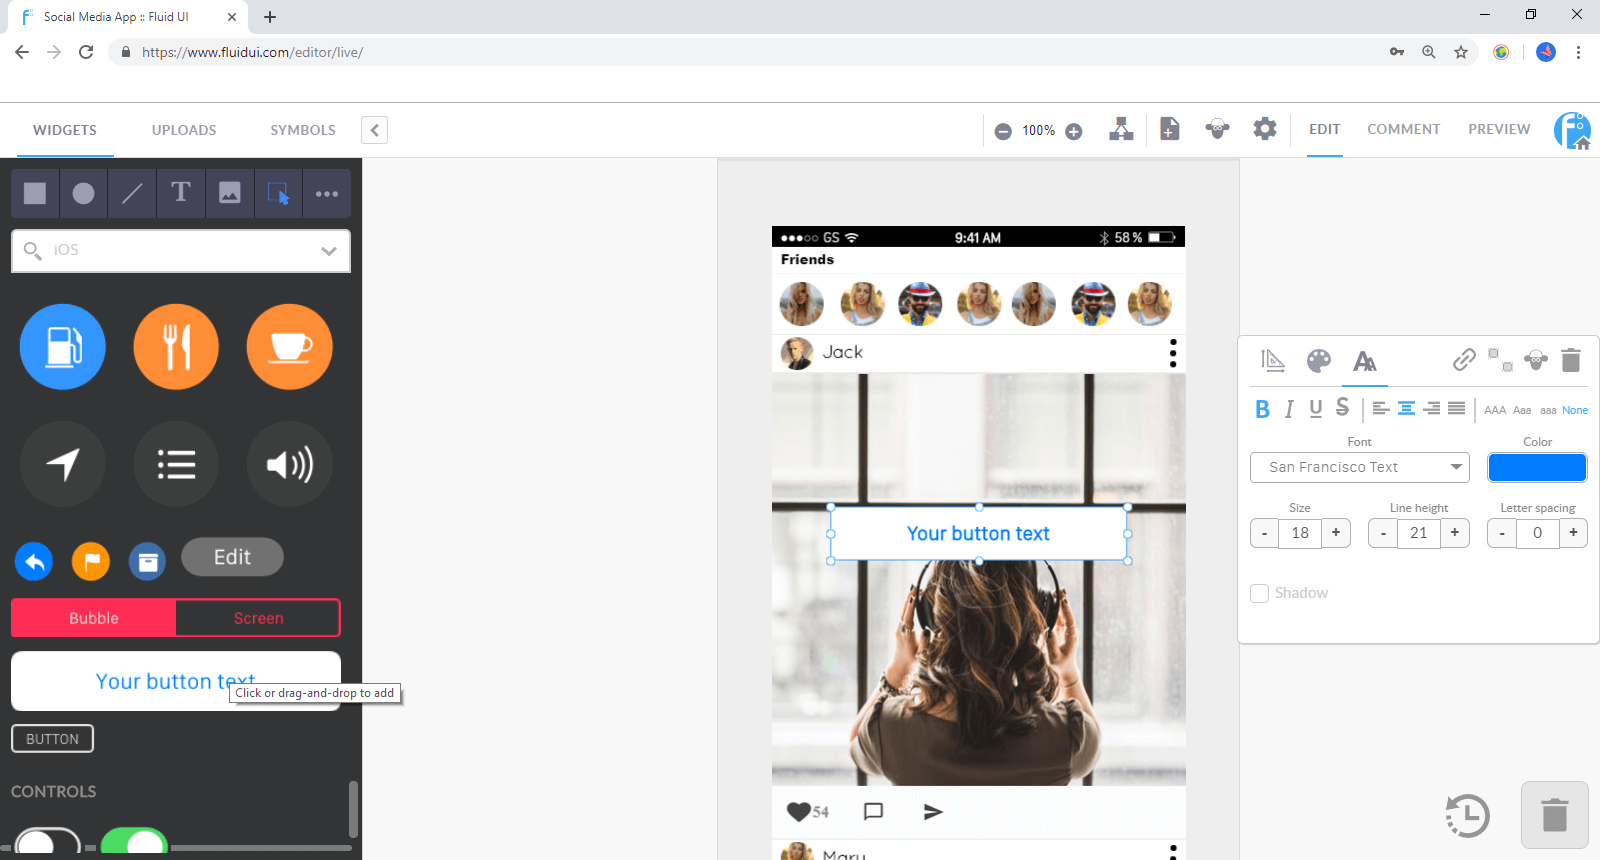
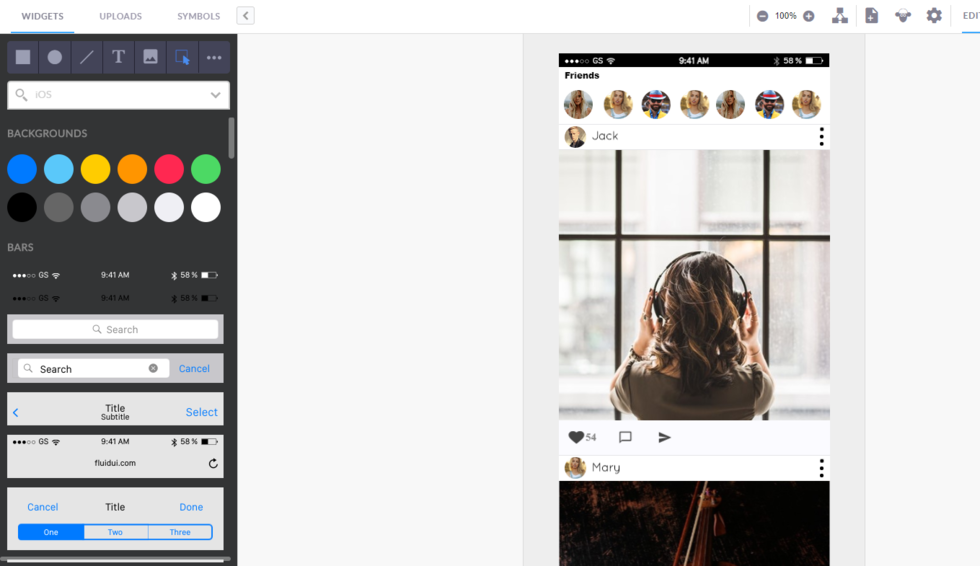
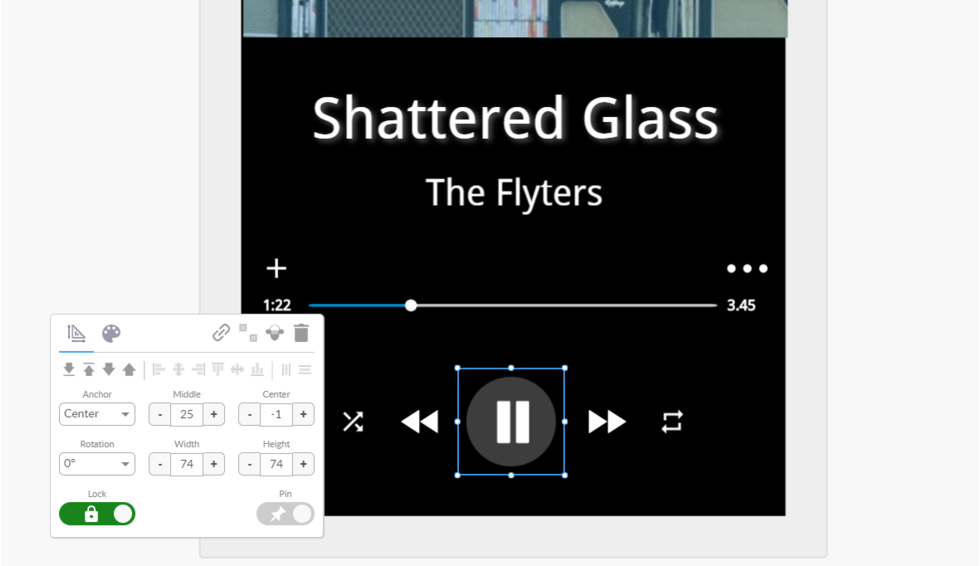
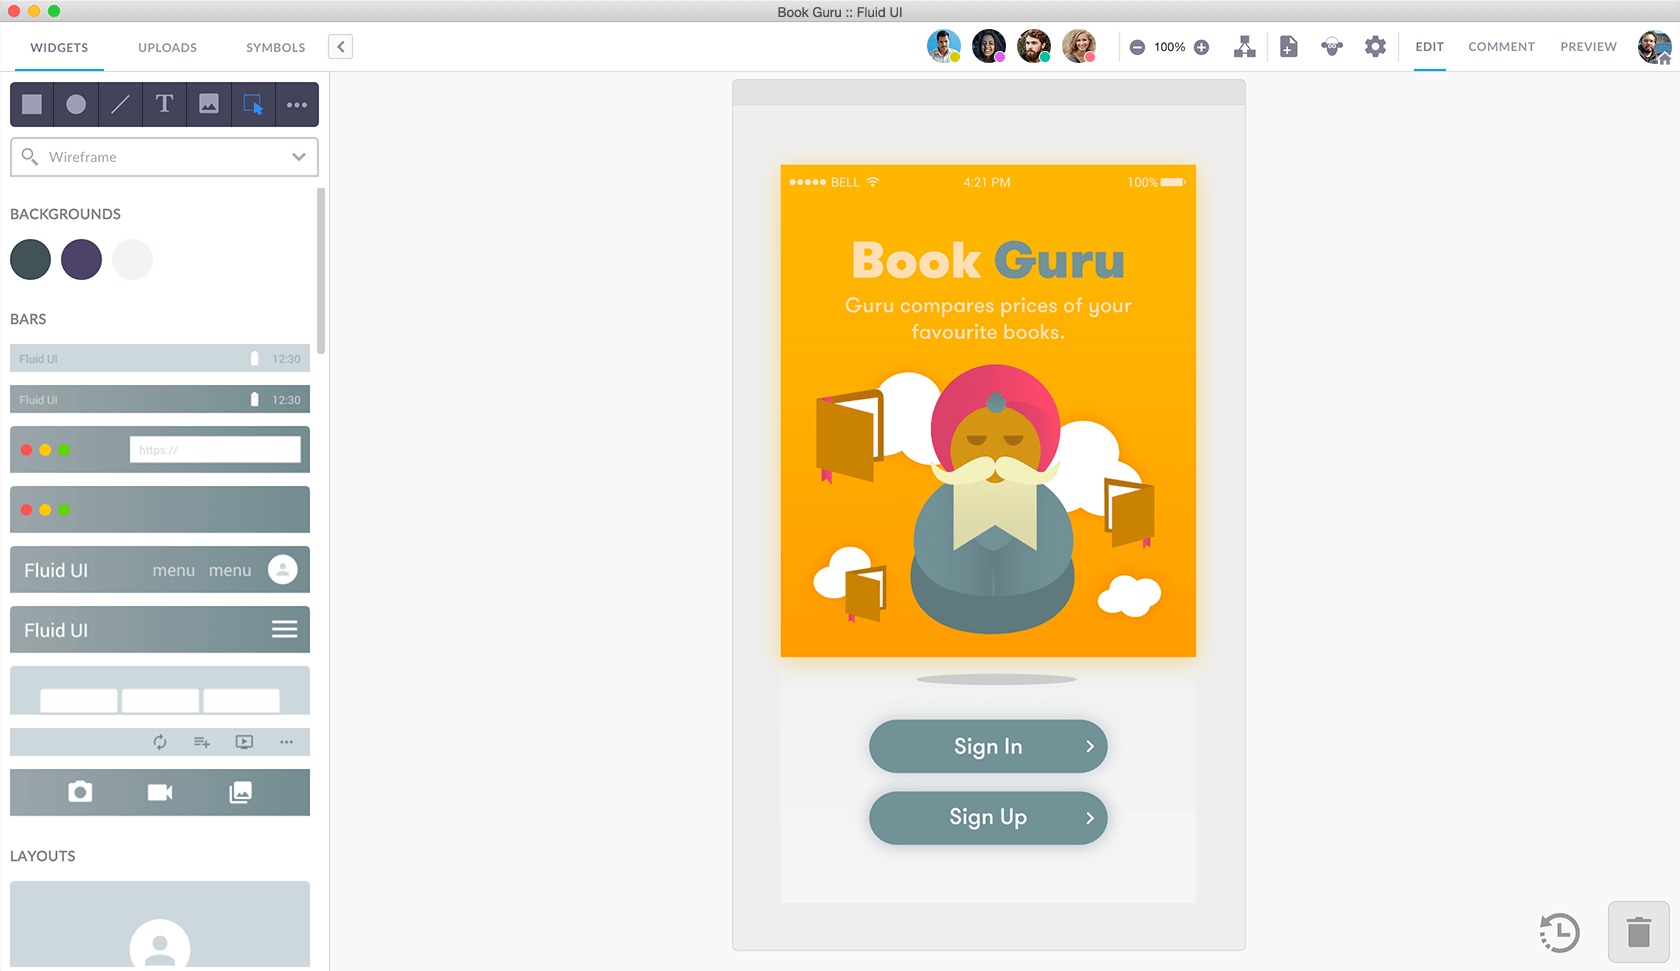
Add any number of widgetsfrom your library and edit widget properties to create the look and feel you need for your project.
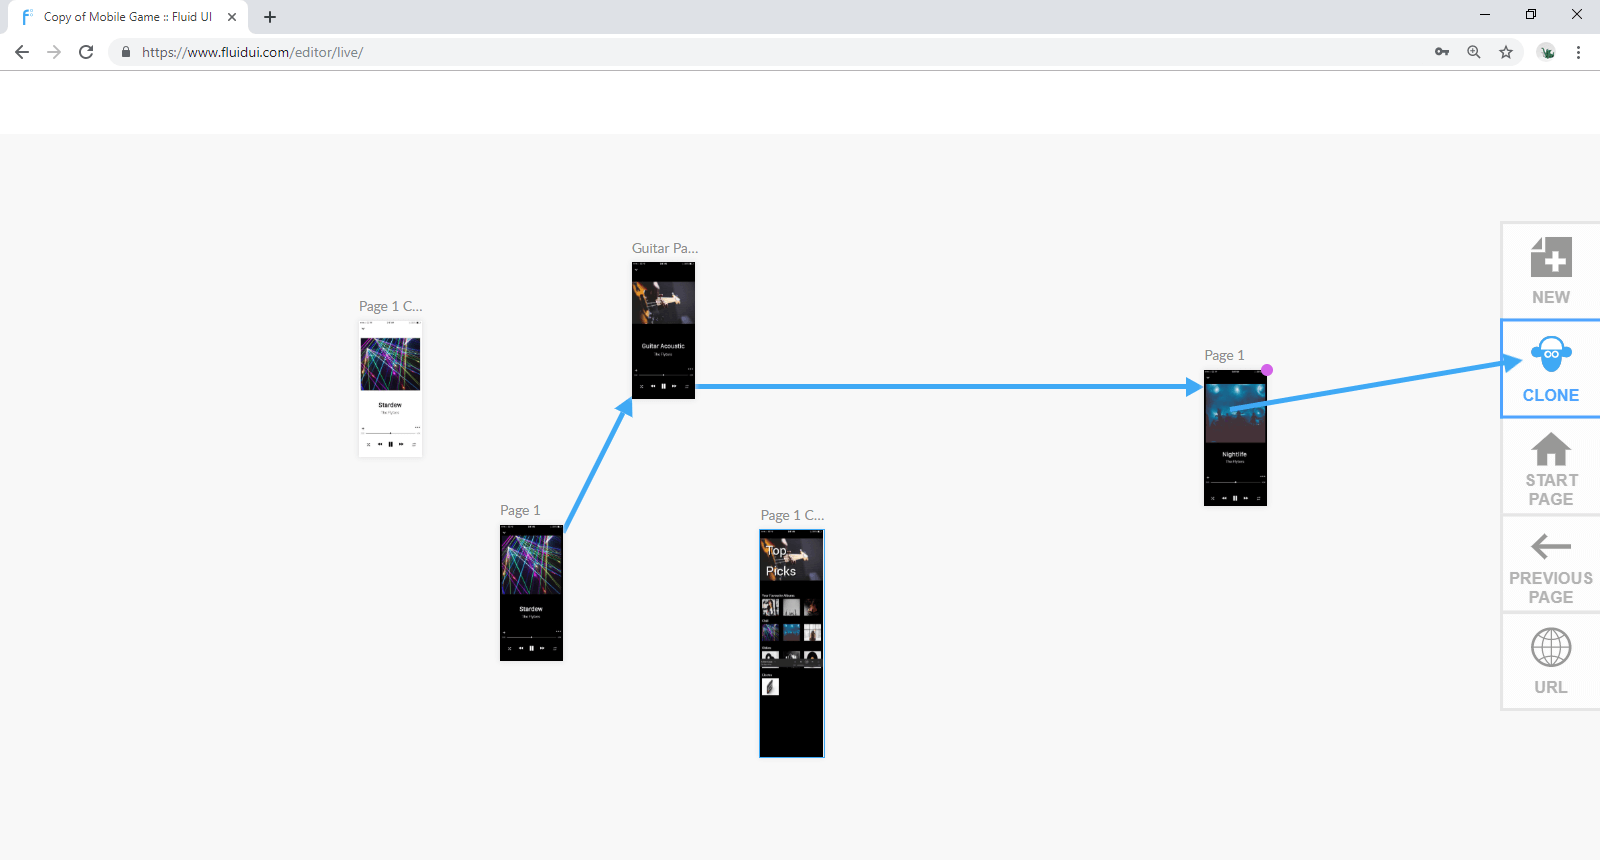
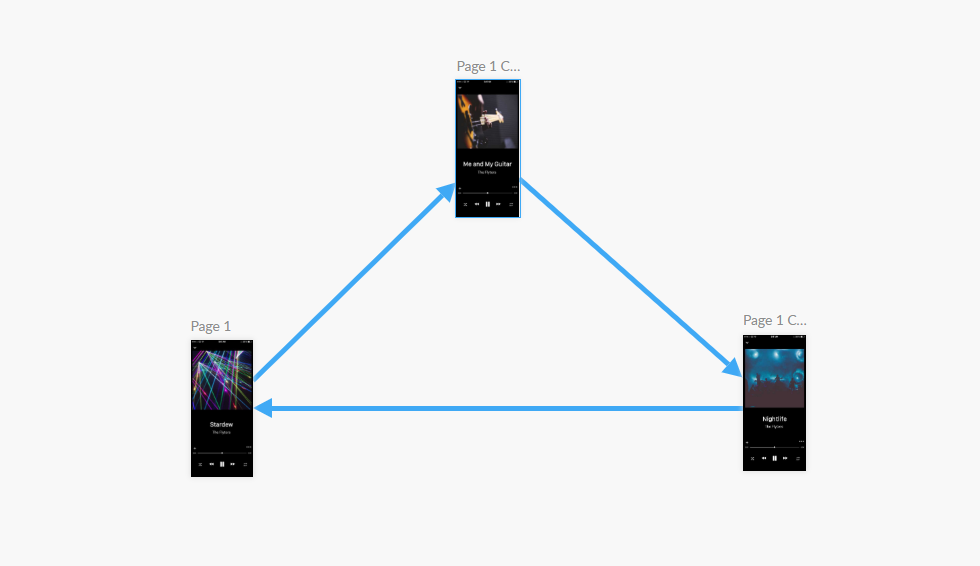
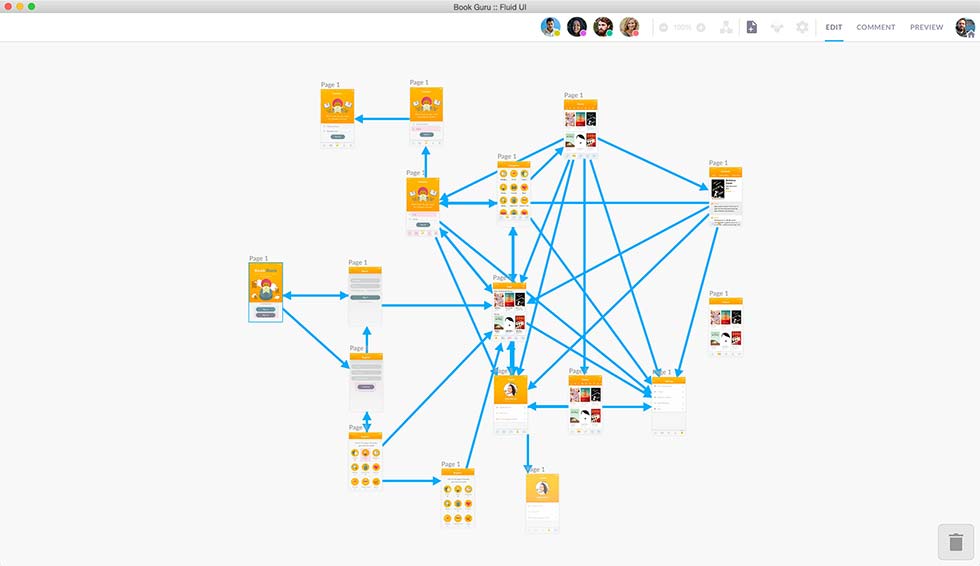
The final design step is tolink your widgets to your pages to create an interactive, playable storyboard for your prototype.
Once a link is created, you can set the gestures and transitions assigned to them and delete them. You can also set the default gestures and transitions for your project in the project settings.
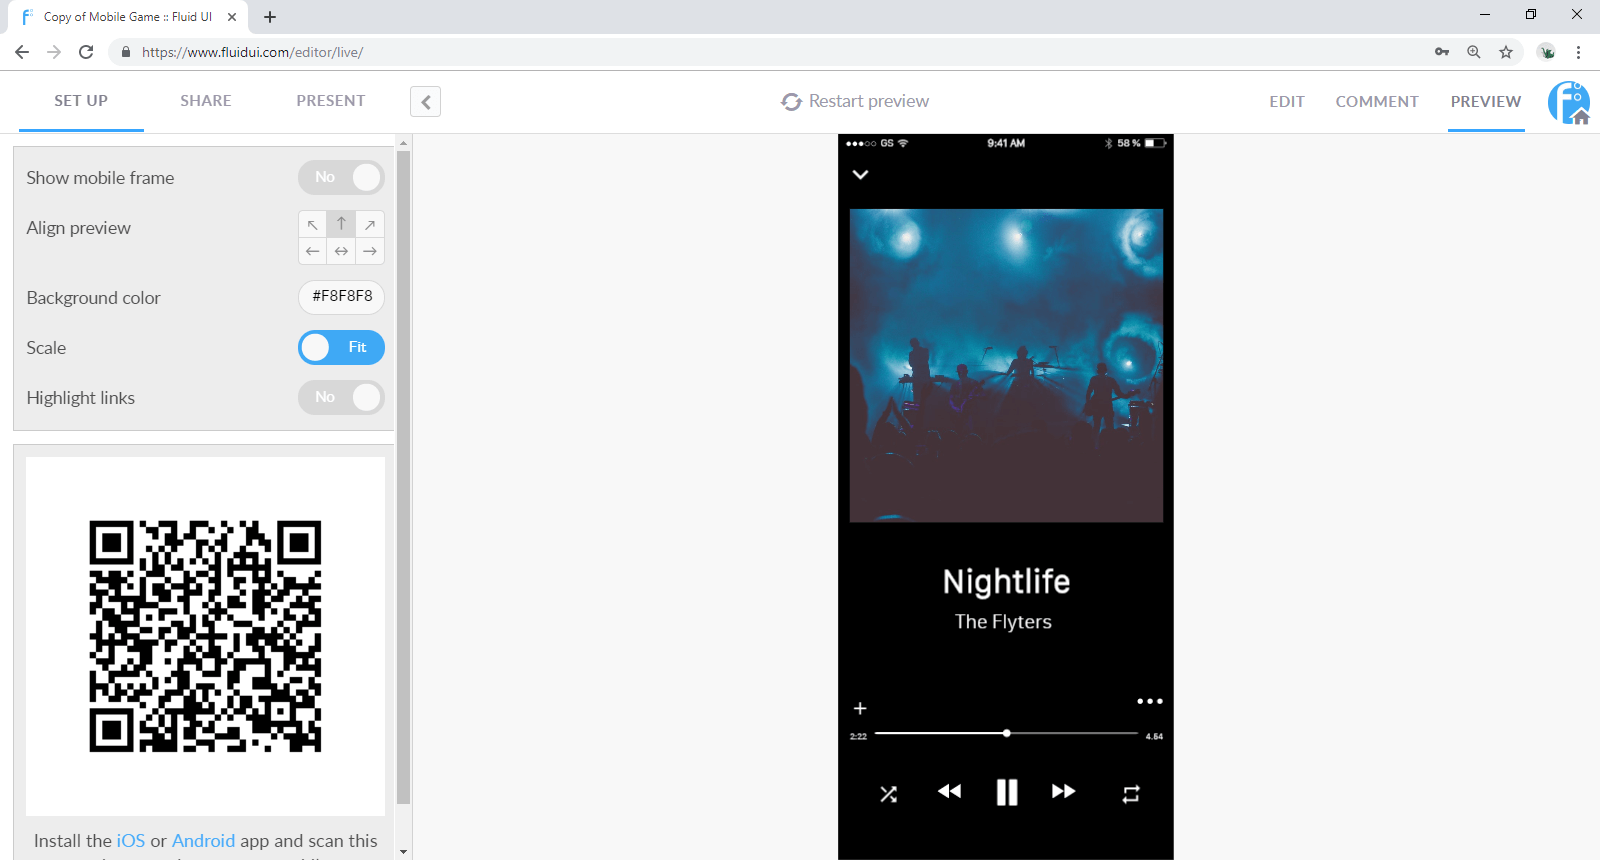
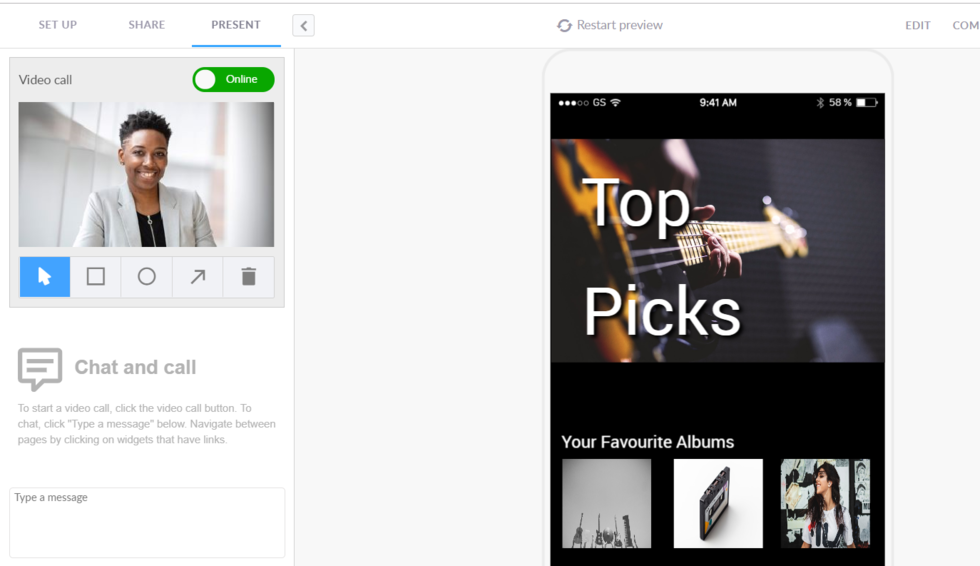
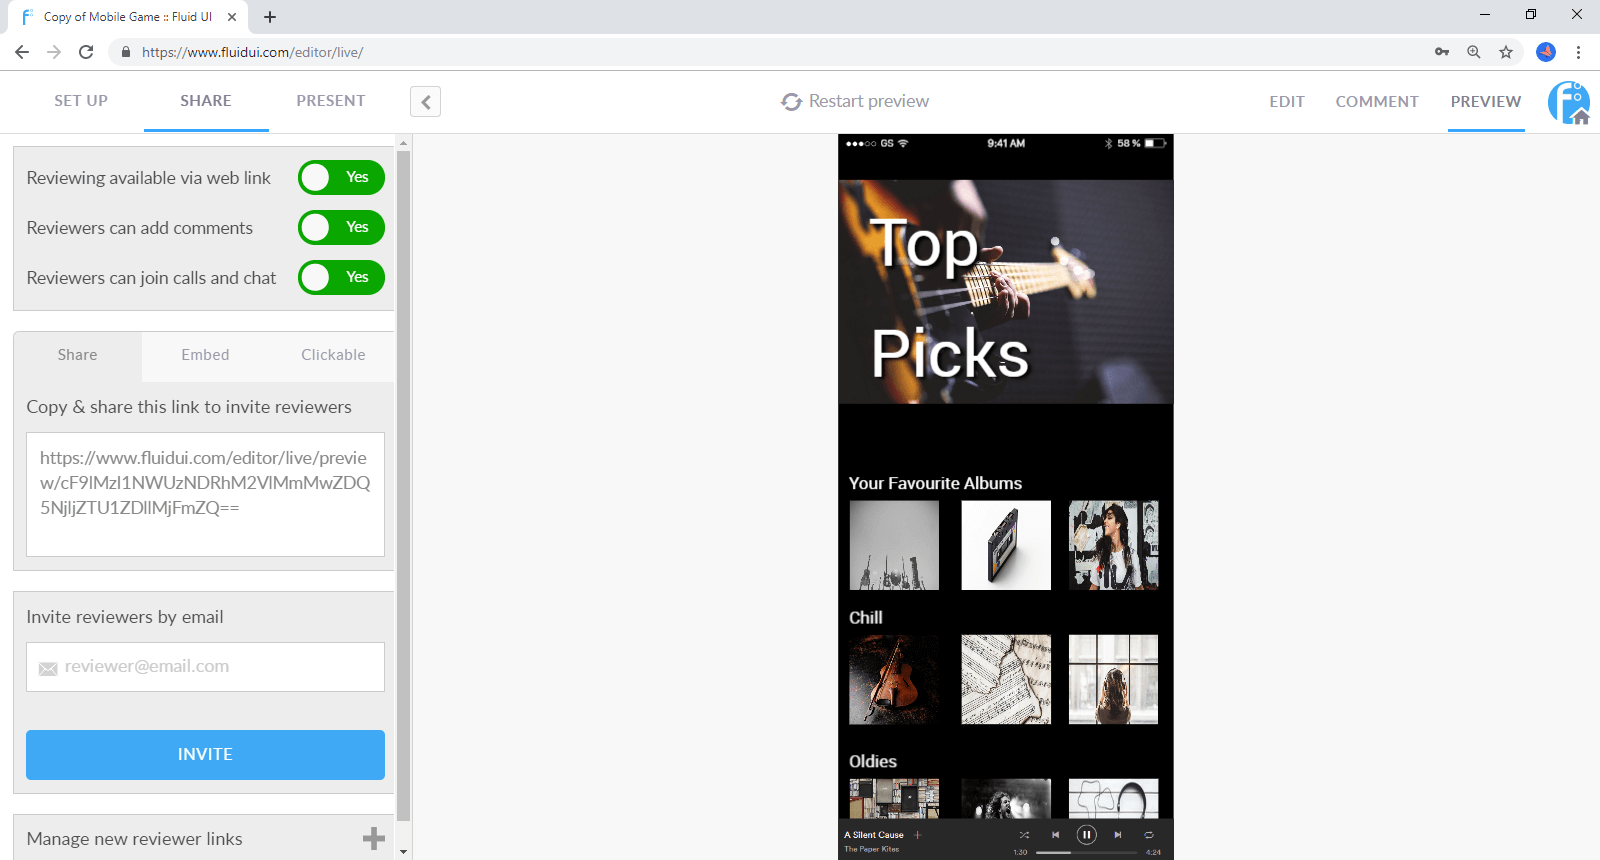
Once you’ve added a few pages, widgets and links, test out your app in the browser by clicking on the Preview button.
Download the Android or iOS player apps to test the app live on your device.
Continue editing until you have your first version of your prototype, then…
An idea without feedback is like a tree without roots. Getting feedback on your prototype is the next step and must come from two sources - your project stakeholders and your users. Get their feedback, then iterate in an agile fashion until you have your final solution.
No content (not used) - create a page with a tag of Video to include content here.
It’s not always obvious why you should stop and prototype your ideas before developing them - especially if you have the ability to “jump right in” and start coding yourself.
But prototyping is an integral part of all successful software projects. It reduces costs and massively improving the chances of your project succeeding. It helps you get your idea from idea to customer in the shortest, least painful way possible:
Let’s face it, there’s no point in building software that no-one will ever use. Prototyping is the best way to validate whether your concept has real resonance with real people before investing in a long, potentially risky development phase. To start validating your ideas, use the 5 step framework for validating product ideas and match your solution to your customer’s needs.
If you are a developer, it’s night on impossible to design and develop at the same time. If you try, the quality of your product will suffer badly as a result. You owe it to yourself to give your product the best chance to succeed.
Agile development delivers software solutions quickly. User-centered design and prototyping identifies what problem to solve in the first place. Combined, they they help you build the right product faster.
If a picture is worth a thousand words, then a prototype is worth a thousand pictures. Prototyping give you the means to communicate interactive software requirements in a way that your team can understand. Before long, your project managers, developers and all of your stakeholders will be insisting on a prototype before starting development.
Mobile design is full of complexities. Prototyping lets you focus on your user’s needs first and avoid having to think about technical complexities like pixels, points and resolutions and the mobile screen sizes that quickly cloud your path when you start to code.
Prototyping lets you get feedback from all the stakeholders in your organisation quickly and effectively.
Finally, prototyping helps you integrate user feedback right into your company roadmap. For maximum win!
Have we convinced you yet? Check out our introductory tutorial and Sign up now.