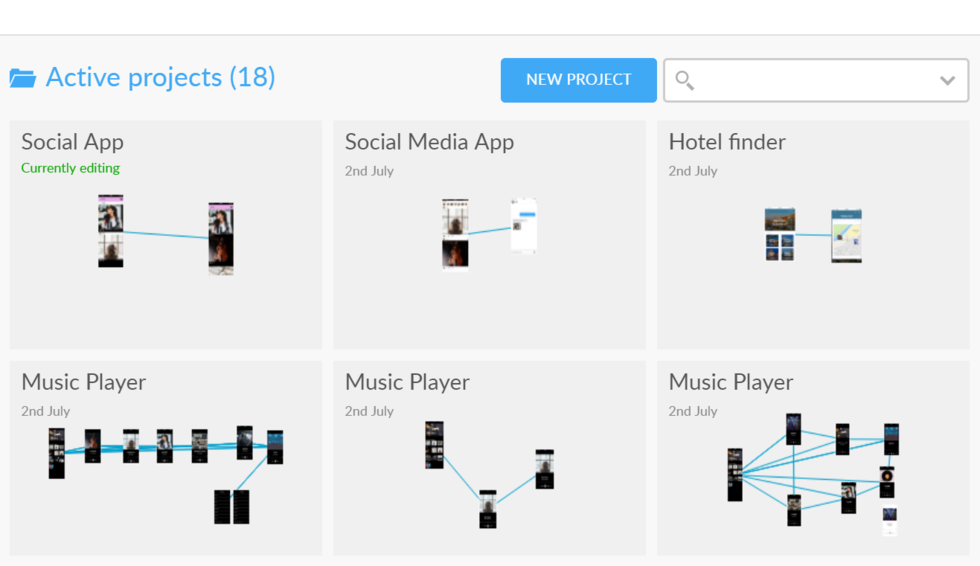
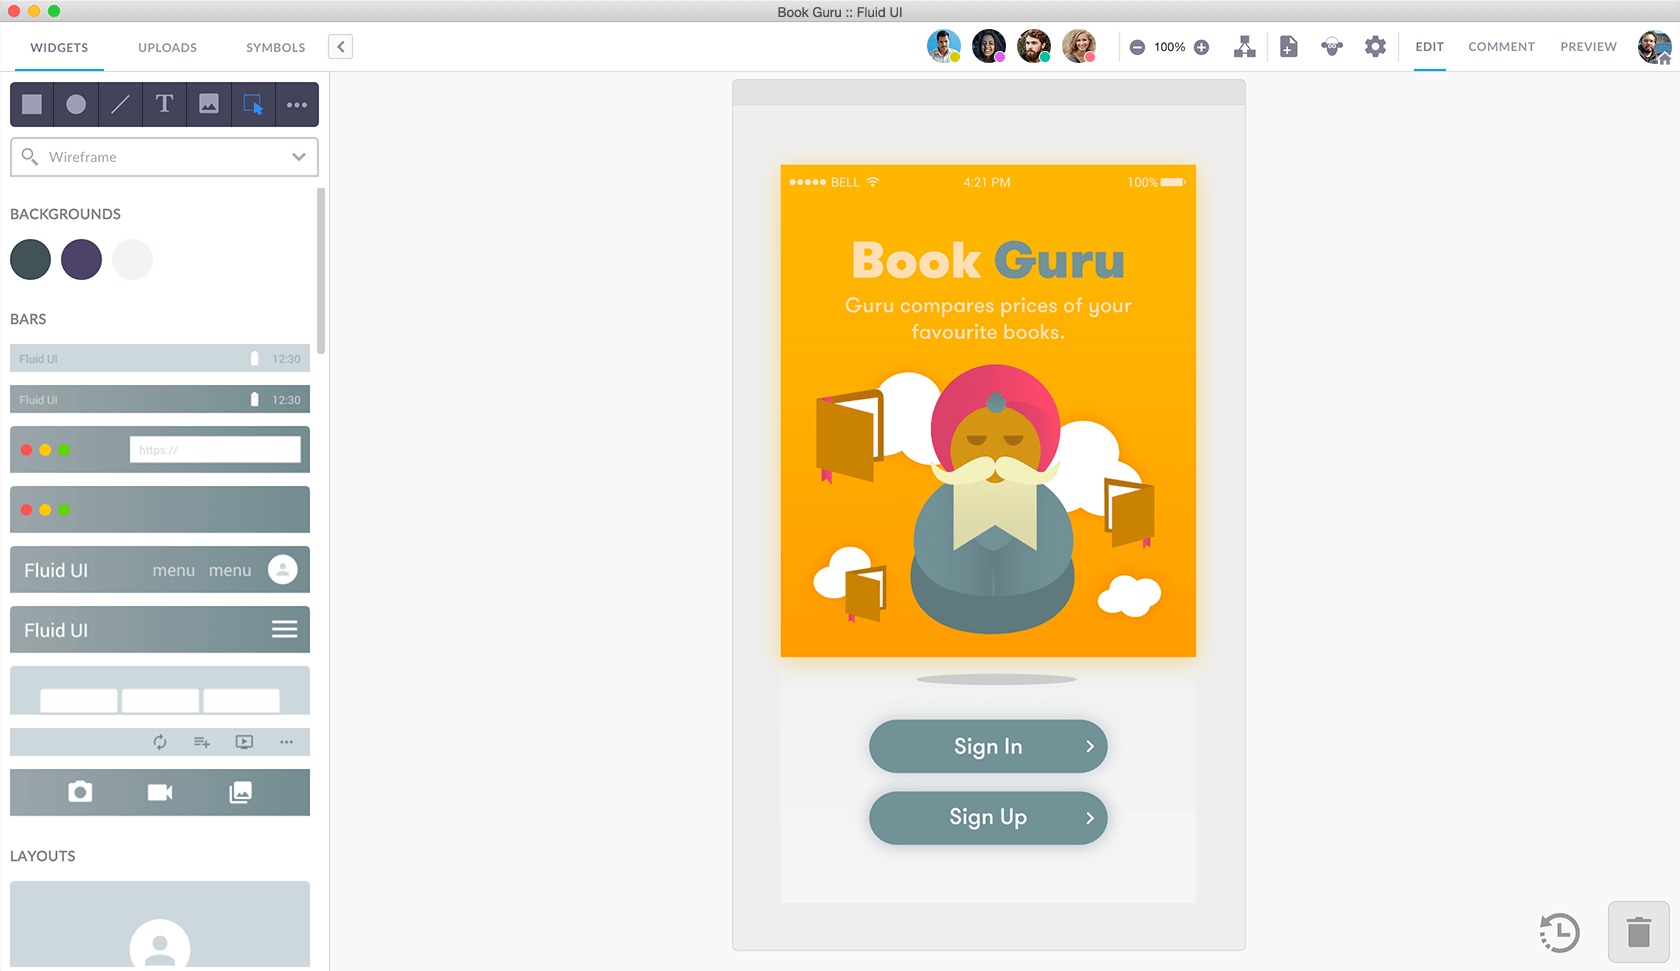
Your first project will be created automatically when you sign up.
Each project starts with a blank canvas from which your idea can grow. You can start designing the second you are signed in.
You can create additional projects by clicking “New project” in the home menu.

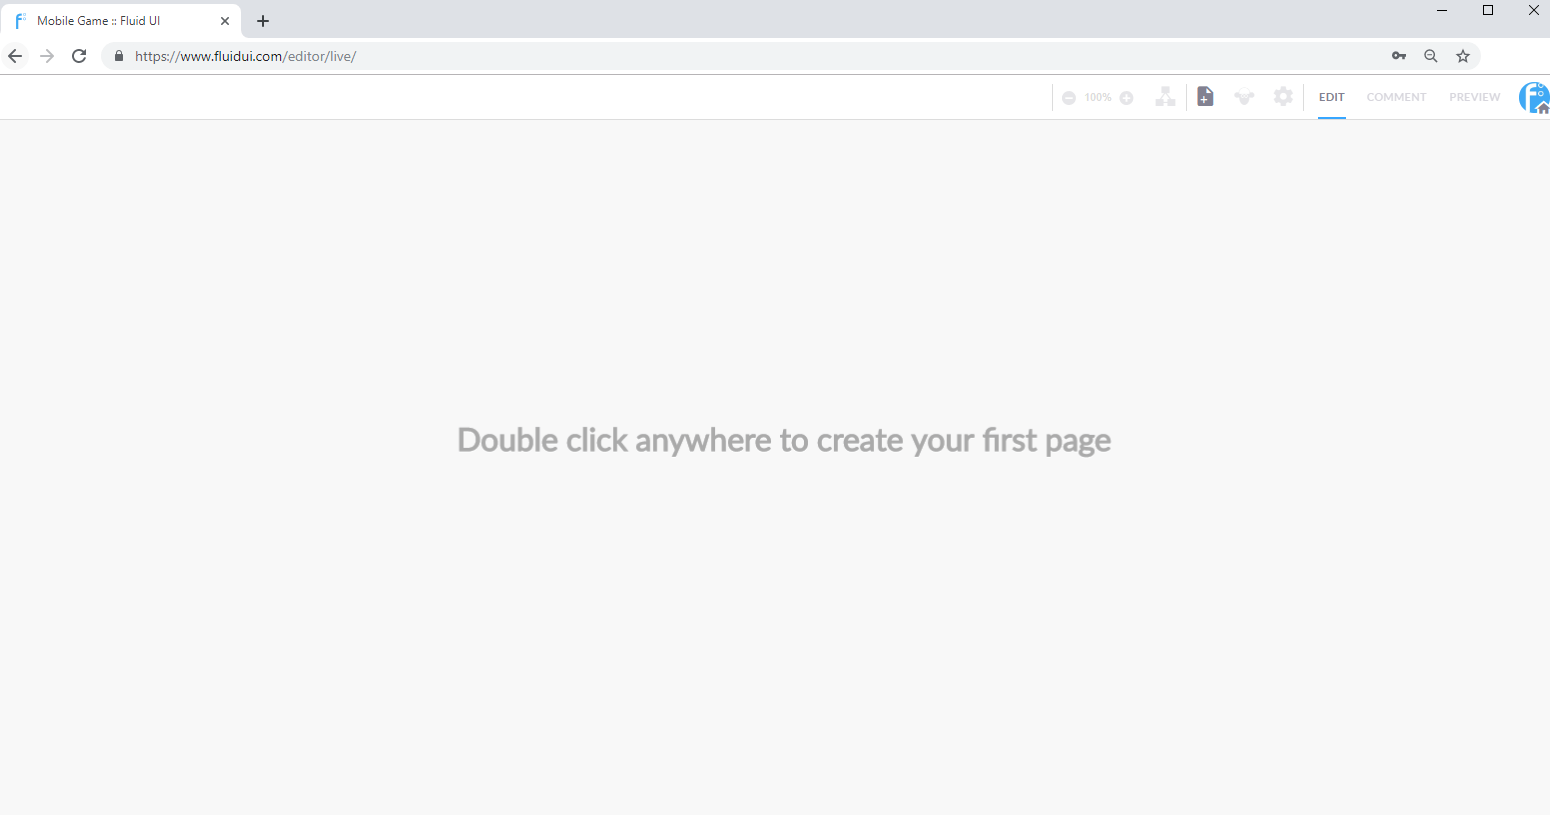
To create a page:
See more aboutadding, cloning and deleting pages and changing their settings in the page menu.
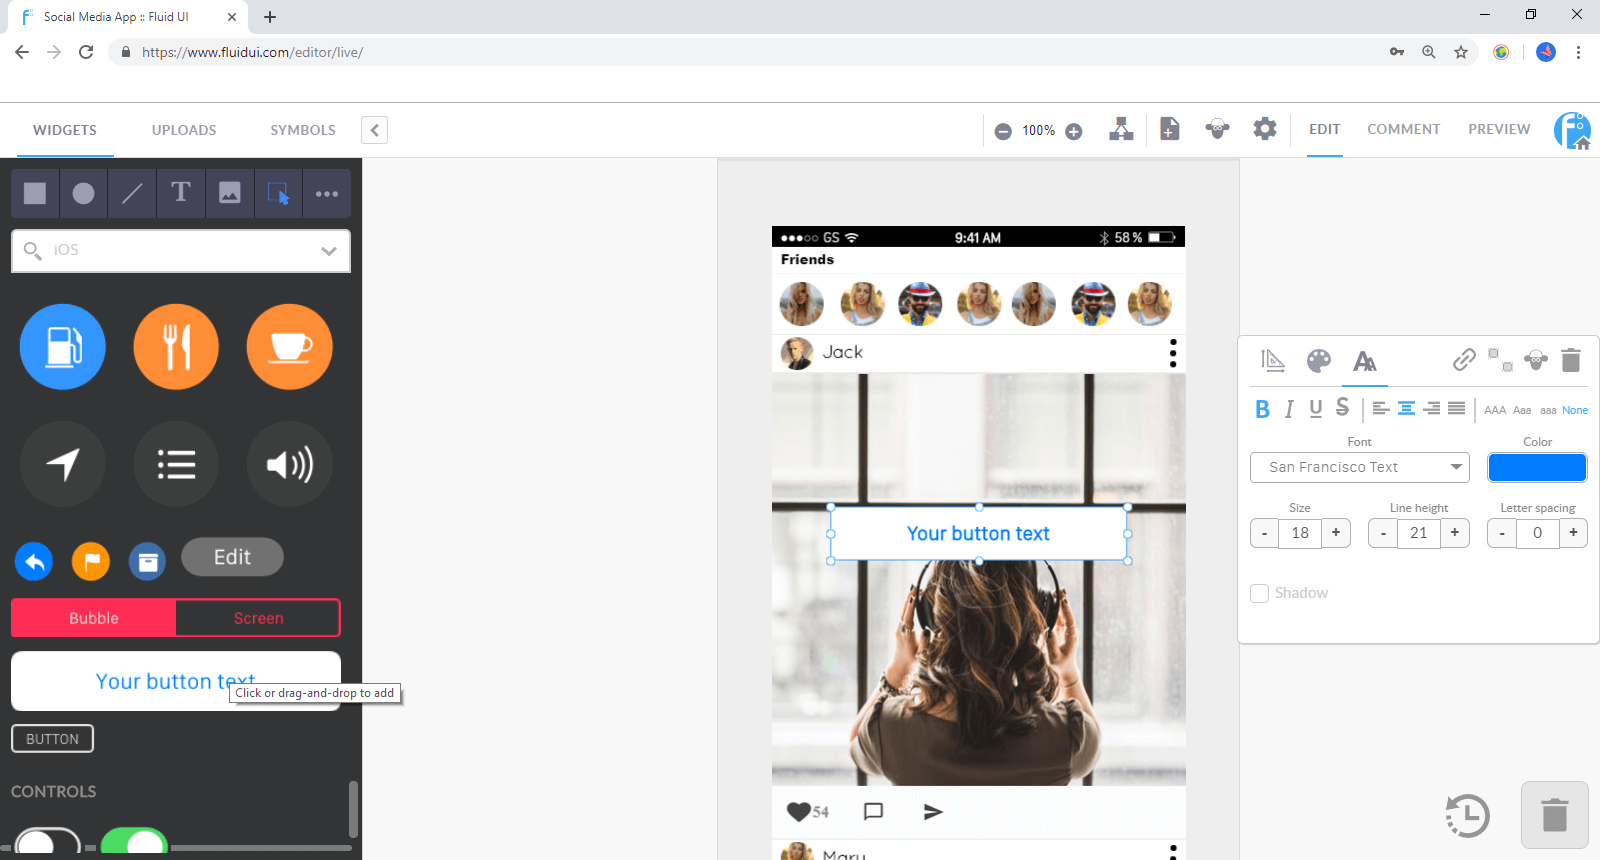
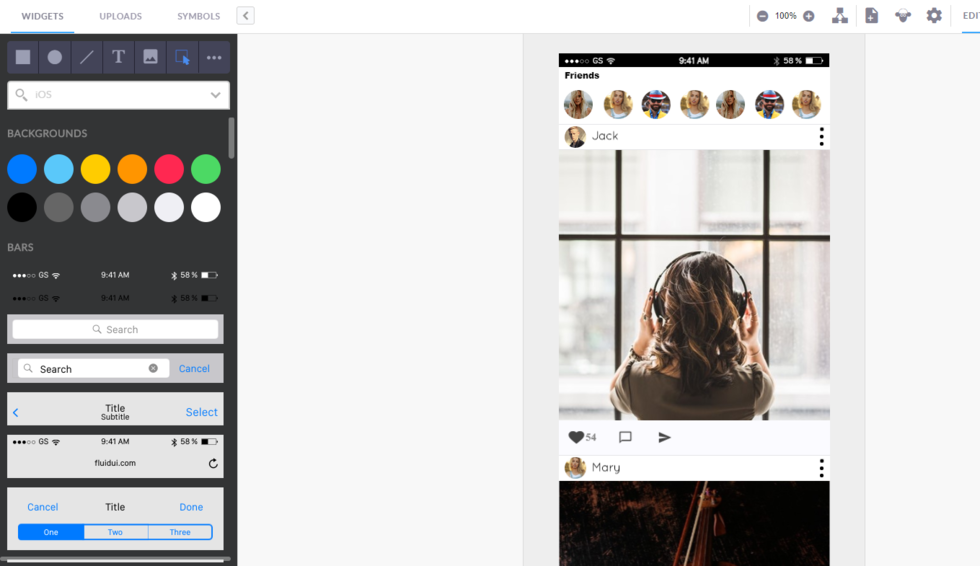
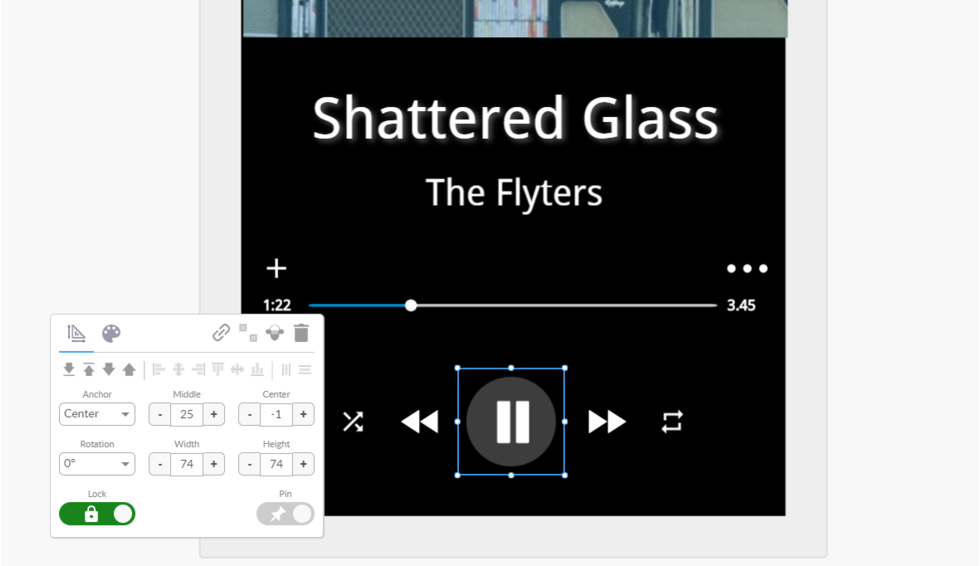
Add any number of widgetsfrom your library and edit widget properties to create the look and feel you need for your project.
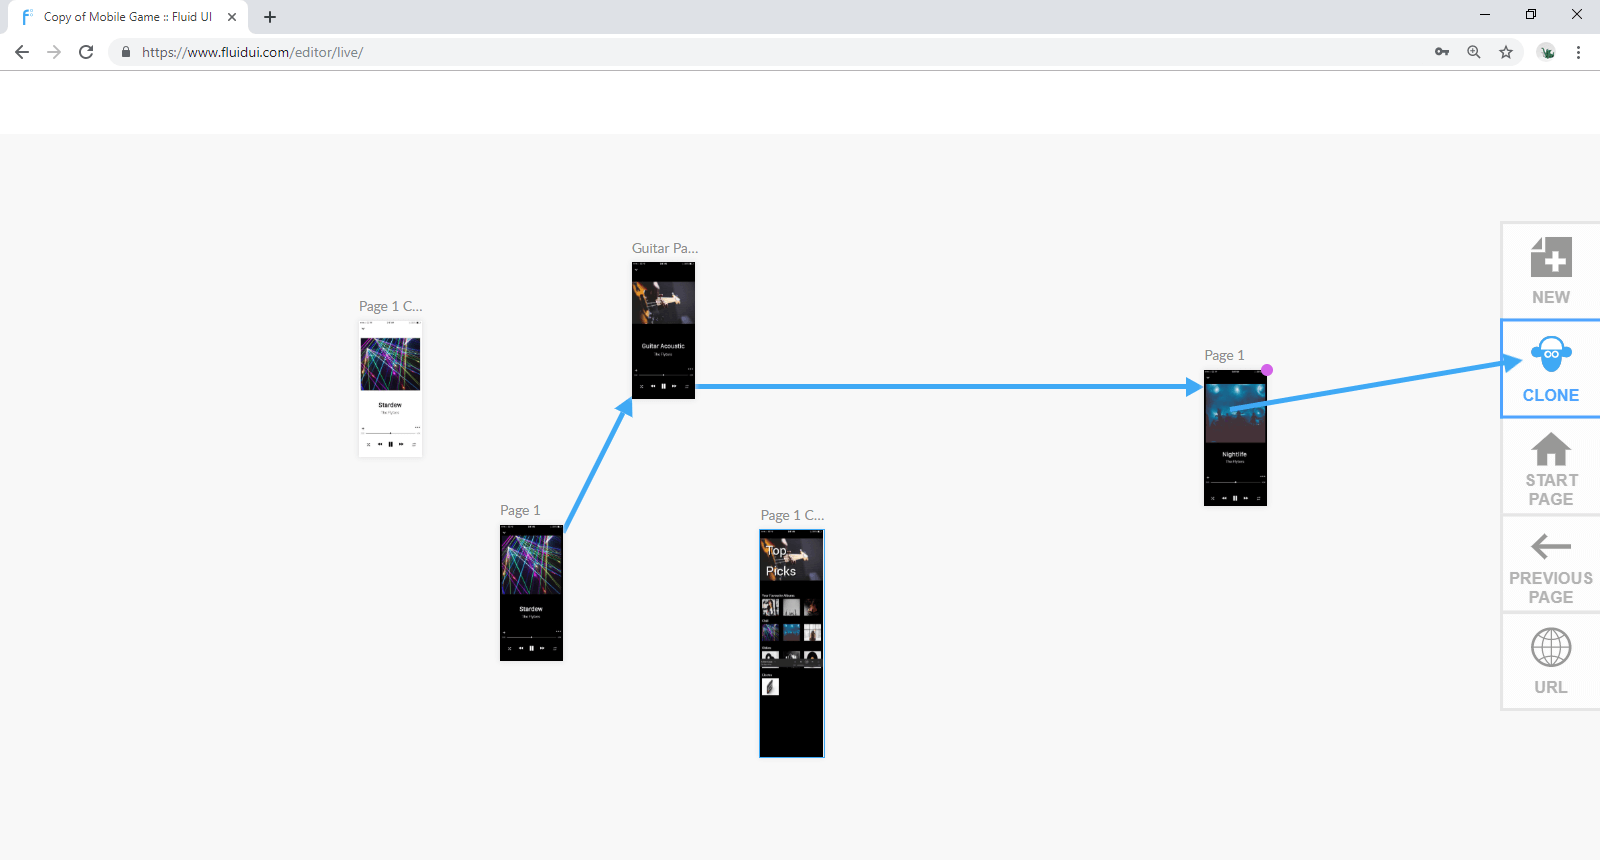
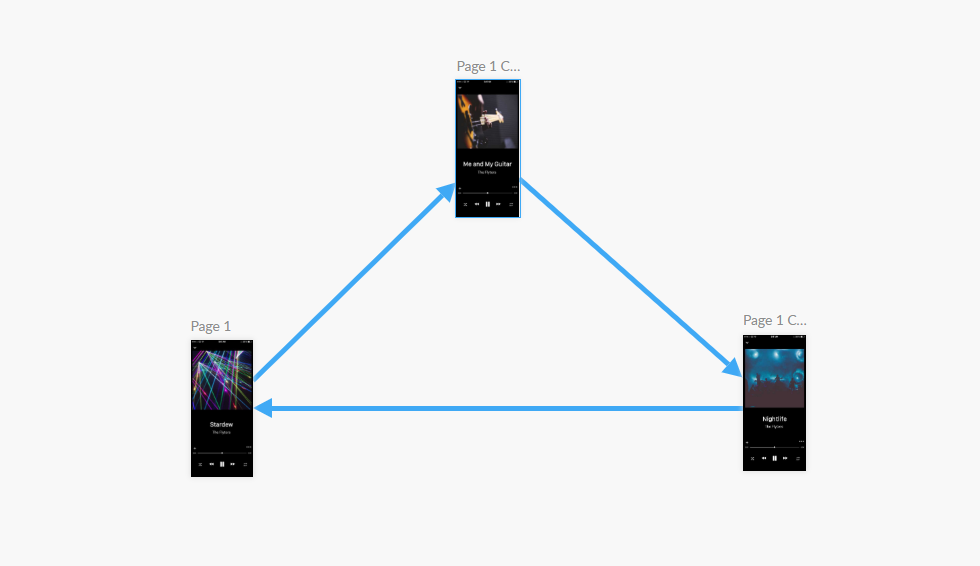
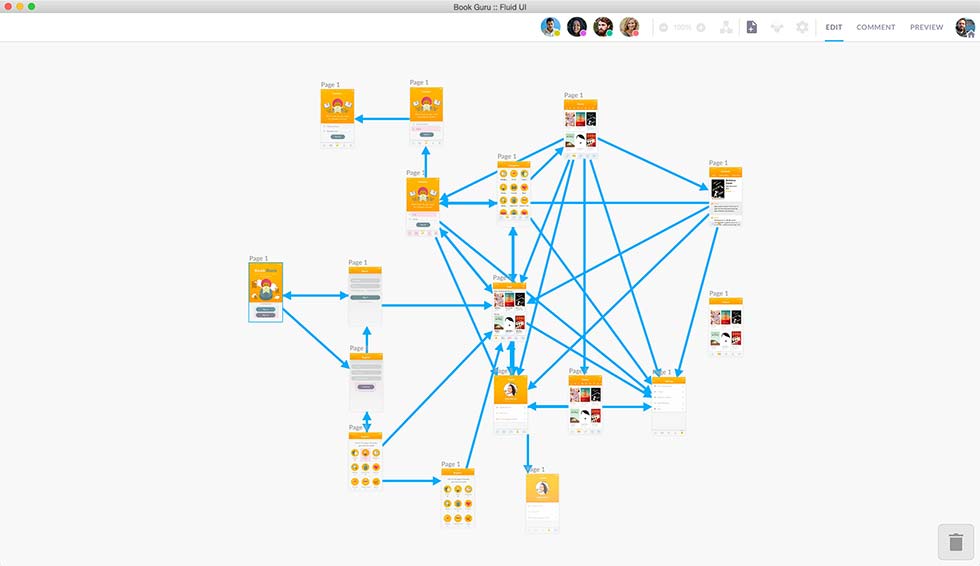
The final design step is tolink your widgets to your pages to create an interactive, playable storyboard for your prototype.
Once a link is created, you can set the gestures and transitions assigned to them and delete them. You can also set the default gestures and transitions for your project in the project settings.
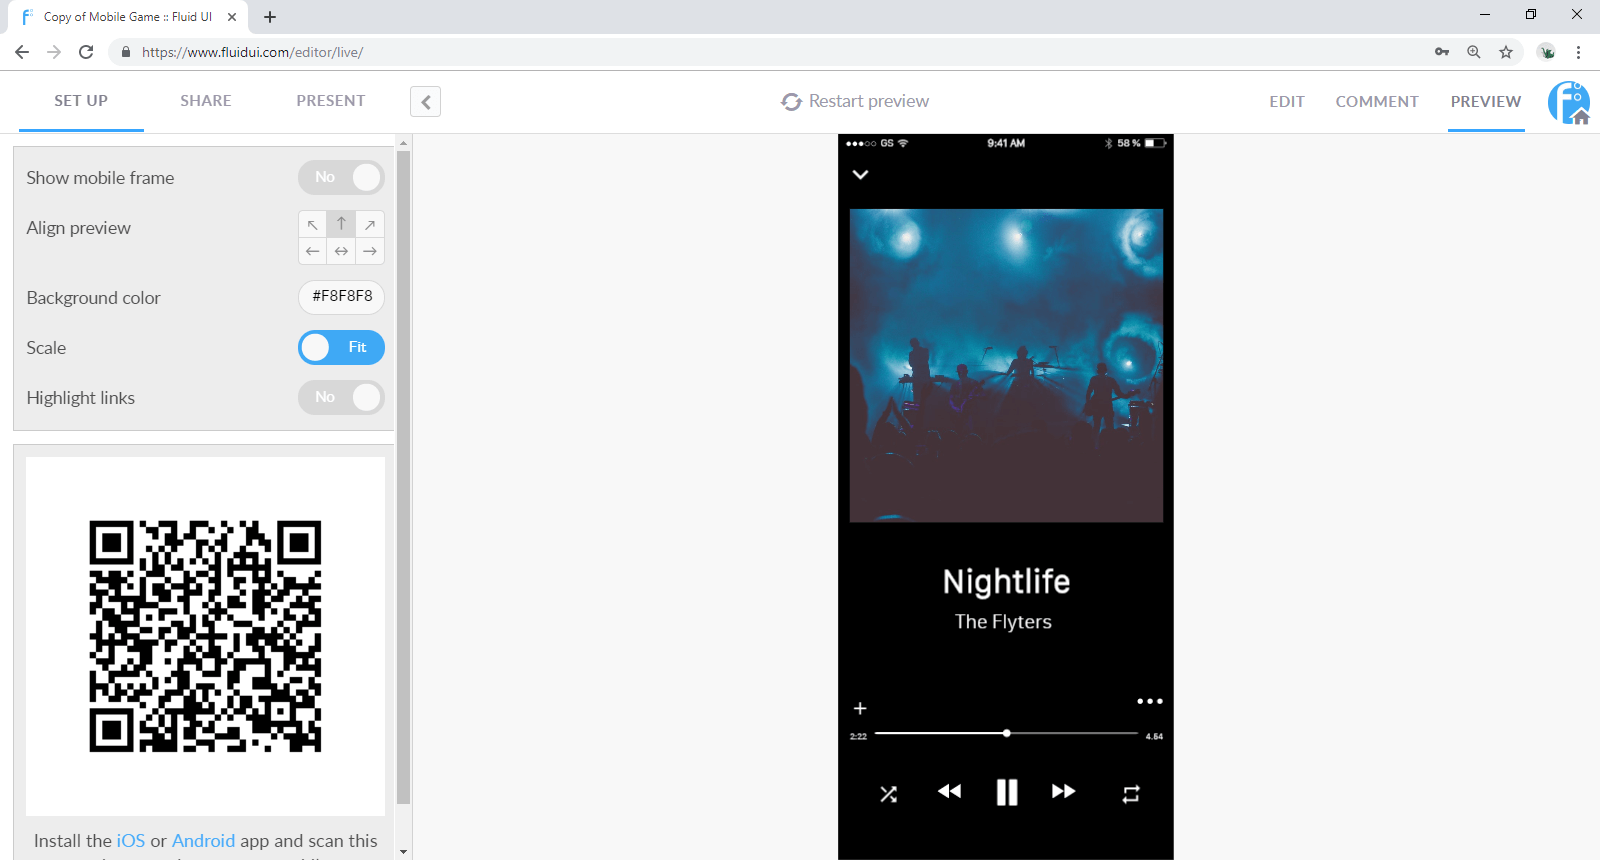
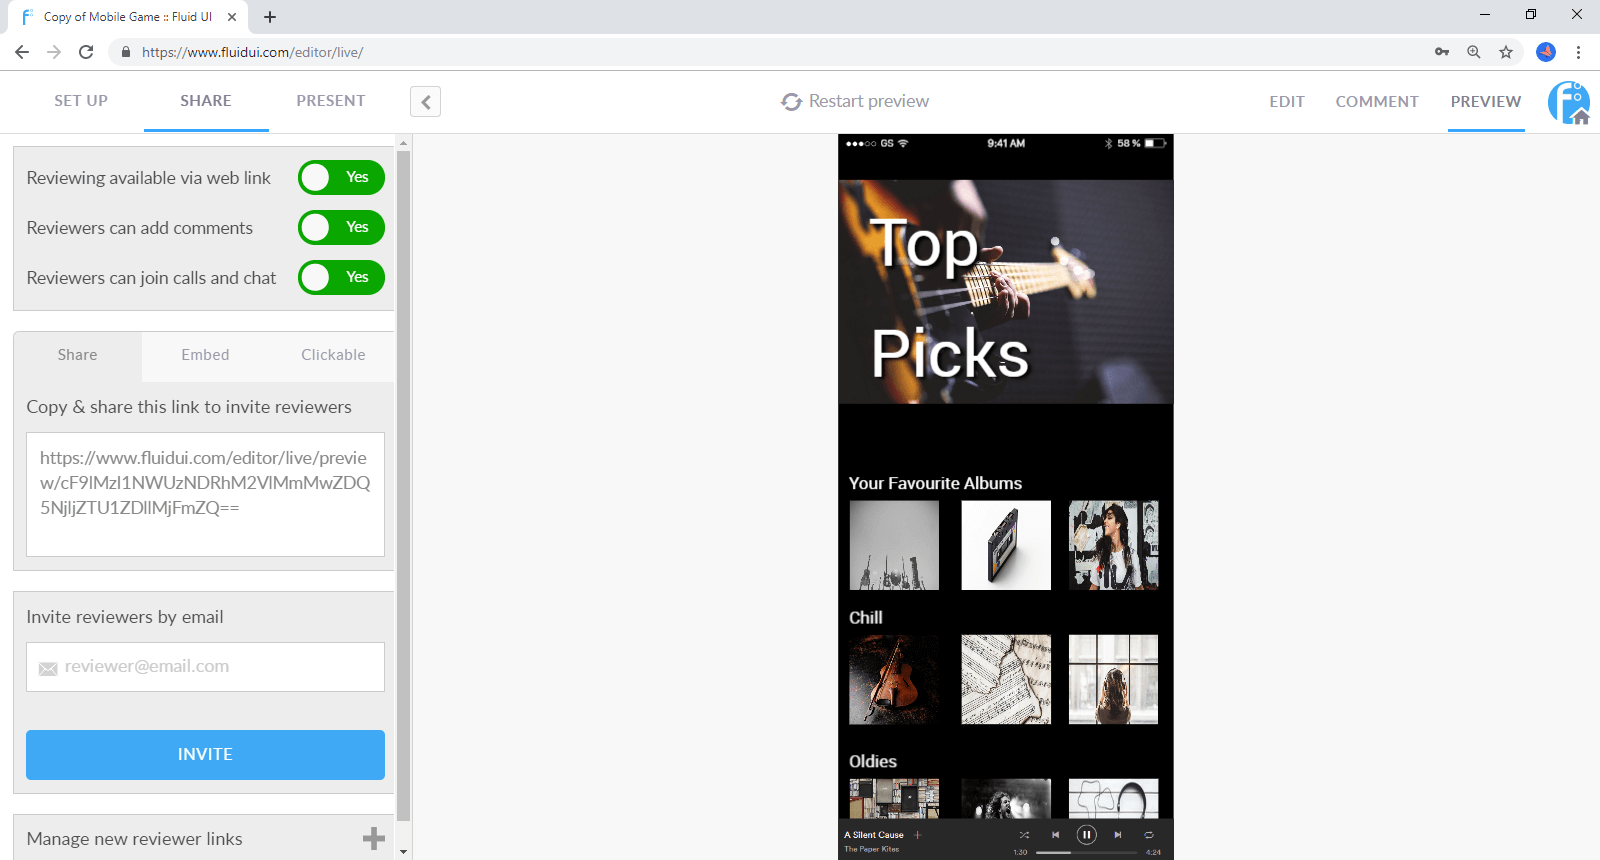
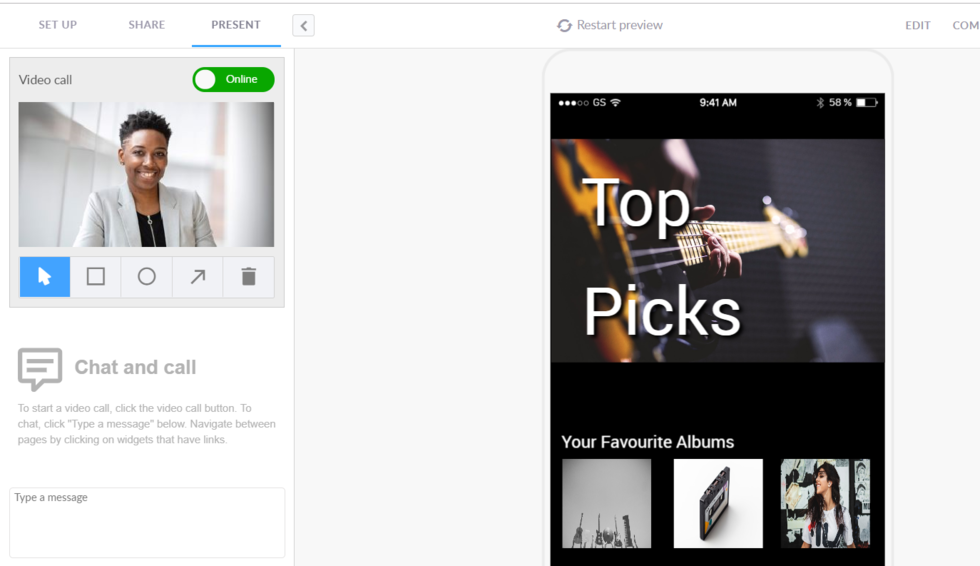
Once you’ve added a few pages, widgets and links, test out your app in the browser by clicking on the Preview button.
Download the Android or iOS player apps to test the app live on your device.
Continue editing until you have your first version of your prototype, then…
An idea without feedback is like a tree without roots. Getting feedback on your prototype is the next step and must come from two sources - your project stakeholders and your users. Get their feedback, then iterate in an agile fashion until you have your final solution.